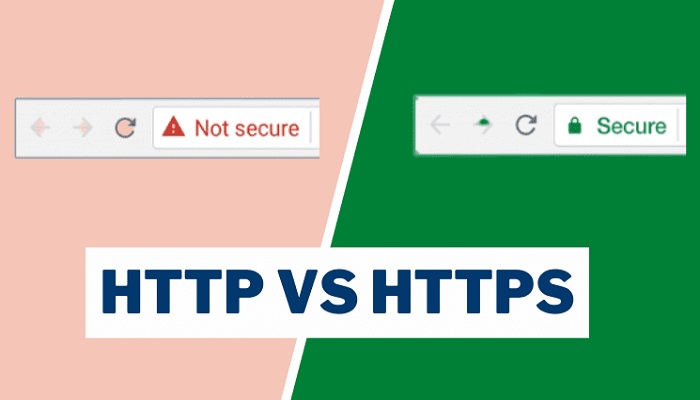
After reading this post you will learn the free the easiest ways to move your WordPress site from HTTP to HTTPS in less than 5 minutes without spending a penny, this will not be a weak or positive SSL that some panel offers for free. It is the best you can get and among the most secure on the web.
Google made it clear in 2014 that sites with HTTPS will have better search privileges over a site with just HTTP read it here.
Most webmasters, especially bloggers, took Google’s statement as a joke, but today we can experience a significant difference between HTTP and HTTPS in terms of Google’s search results.
For most bloggers, most especially new bloggers, one of the best ways to improve their SEO is to migrate their blog from HTTP to HTTPS, and this has proven to be very positive. It is very easy to migrate.
HTTPS does not just give your website a better search reputation, it also keeps your site content and users’ info more secure, as it makes it very difficult for hackers to gain access to.
If you have an eCommerce or any other kind of site where users make purchases by using their credit card details, you must run such site on HTTPS; this will prevent third-party hackers as well as scammers to gain access to your customers’ information.
Congratulations if you are running your eCommerce with WordPress, this step will also work perfectly for you – keeping your online store secured as well as boosting your customer’s confidence while shopping on your site.
Without saying so much about to importance of HTTPS, let’s learn how to move our WordPress blog from HTTP to HTTPS for free.
Why Switch to HTTPS?
Improved Security
Moving to HTTPS encrypts the data transmitted between your website and your visitors.
This encryption protects sensitive information, such as login credentials and payment details, from potential hackers.
SEO Benefits
Google favors HTTPS websites, considering them more trustworthy.
This can boost your website’s search engine rankings, leading to increased visibility and organic traffic.
Enhanced User Trust
When visitors see the padlock icon in their browser’s address bar, they are more likely to trust your website.
HTTPS assures them that their data is safe, fostering confidence in your brand.
Preparing for HTTPS Migration
Backup Your Website
Before making any changes, it’s crucial to create a full backup of your website. This ensures that you can quickly restore your site in case anything goes wrong during the migration.
Choose the Right SSL Certificate
To switch to HTTPS, you need an SSL certificate. Many hosting providers offer free SSL certificates through Let’s Encrypt. Ensure you select the appropriate certificate for your needs.
Update Your WordPress Settings
Go to your WordPress dashboard and navigate to the “Settings” section. Update the “WordPress Address (URL)” and “Site Address (URL)” fields to use HTTPS instead of HTTP.
Installing the SSL Certificate
Contact Your Hosting Provider
Get in touch with your hosting provider to install the SSL certificate for you. They will guide you through the process or even do it on your behalf.
Verify SSL Installation
After the certificate is installed, use online tools to confirm that your website is now using HTTPS. This ensures that the certificate is working correctly.
Updating Internal Links
Update Your Content
Scan your website’s content for internal links and update them to use HTTPS. This includes links in posts, pages, and widgets.
Use a Plugin
Consider using a WordPress plugin like “Better Search Replace” to automate the process of updating internal links.
Redirecting HTTP to HTTPS
Modify Your .htaccess File
To ensure all traffic is redirected to the HTTPS version of your site, you need to modify your .htaccess file. Add code to redirect HTTP requests to HTTPS.
Updating Google Search Console
Change Your Property Settings
In Google Search Console, update your property settings to reflect the HTTPS version of your website.
This ensures Google indexes the secure version of your site.
Submit a New Sitemap
Resubmit your sitemap to Google to help expedite the indexing of your HTTPS URLs.
Checking for Mixed Content
Identify Mixed Content
Mixed content occurs when some elements on your site are loaded over HTTP instead of HTTPS.
Use online tools to identify and address mixed content issues.
Update Content and Plugins
Edit your content and check your plugins to ensure they don’t include HTTP resources. Update any references to HTTP to ensure a secure browsing experience.
Testing Your Website
Thorough Testing
Before finalizing the migration, thoroughly test your website.
Check for broken links, missing images, and any unexpected issues that may have arisen during the process.
Conclusion
Moving your WordPress website from HTTP to HTTPS is a crucial step in ensuring both security and search engine optimization.
By following the steps outlined in this guide, you can make this transition seamlessly and enjoy the benefits of a secure and trusted online presence.
RELATED ARTICLES


