This article explains how to easily disable some of your keyboard buttons on a Windows PC.
There are reasons why we may want to disable one or many of the keyboard buttons on our Windows PC.
Sometimes, we may just want to deactivate some specific keys on our PC. Maybe because they are not always in use, some other times some buttons may be misbehaving, and we feel removing those buttons will make things right.
There are many reasons why PC users may want to disable specific keys from their keyboards.
In my case, just before writing this post, my Down Button was pressing itself automatically and affecting everything I am doing on my laptop.
So I just decided to disable it. Now every other thing is working just fine.
In this article, I will show you how to deactivate a specific button on your Windows PC.
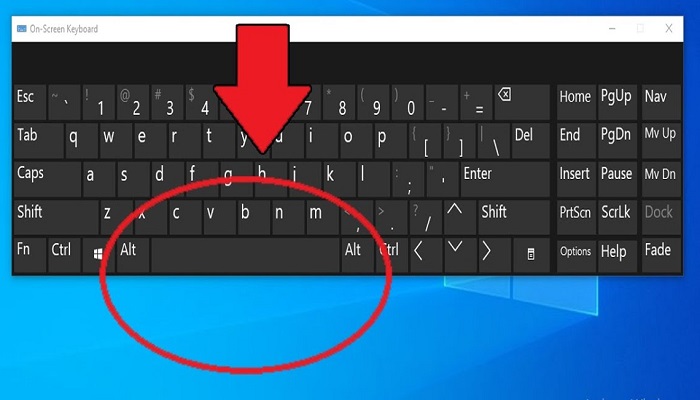
What am explaining here is how I disabled my “Down Button” and restored my PC to normal. But the Down Key is no longer functional, I now use the mouse on the onscreen keyboard as an alternative, before I replace my keyboard.
Using Windows Registry to Disable Keyboard Buttons
One of the ways to disable keyboard buttons is by modifying the Windows Registry. Here’s how to do it:
Accessing the Windows Registry
- Press Windows + R to open the Run dialog.
- Type
regeditand press Enter to open the Registry Editor. - You may need to confirm a User Account Control prompt.
Navigating to the Appropriate Registry Path
- In the Registry Editor, navigate to:
HKEY_LOCAL_MACHINE\SYSTEM\CurrentControlSet\Control\Keyboard Layout
Creating a New Registry Key
- Right-click on the Keyboard Layout key.
- Select New > Binary Value.
- Name this new value Scancode Map.
Mapping Keys to Disable Them
- Double-click on the newly created Scancode Map value.
- Enter the binary data to disable specific keys
Click OK and restart your computer for the changes to take effect.
Disable Keyboard Buttons with Microsoft PowerToys
- Visit https://learn.microsoft.com/en-us/windows/powertoys/install
- Click on Install PowerToys, it will redirect you to a GitHub page where you can download the latest version of the PowerToys.
- Scroll down, you will find the download execution file, download based on your computer specifications.
- Install and launch the PowerToy on your computer.
- Click on Keyboard Manager on the left menu.
- Click on Remap a Key
- Click on the plus (+) sign, and after that click on Type.
- Next, you will have to click on the key you want to disable on your keyboard and click OK.
- Select disable for the key you selected, and click on OK again.
- The video below will show a visual demonstration of the process
Video Source: YouTube
Disable Keyboard Buttons with Simple Disable Key
- Download and launch Simple Disable Key (It is a free tool). Get it via this link: majorgeeks.com/files/details/simple_disable_key.html
- Select the labeled Key field.
- Hit the key want to disable on your Windows keyboard.
- Click on Add Key.
- Choose if you need the key disabled in specific programs, during certain times, or to be disabled always.
- Then click OK.
If you later decide you want to quickly enable all the keys you already have disabled, open the App and click on Enable All Keys.
Disable Keyboard Buttons with SharpKeys
- Download and install SharpKeys from the official website.
- Open SharpKeys and click on Add.
- Select the key you want to disable from the left column and set it to Turn Key Off on the right.
- Click Write to Registry and restart your computer.
Disable Keyboard Buttons with KeyTweak
- Download and install KeyTweak.
- Open KeyTweak and select the key you want to disable from the on-screen keyboard.
- Set it to Disable Key.
- Click Apply and restart your computer.
I hope this article was helpful to you. Please share it with people who need it.
RELATED ARTICLES
- List of all Keyboard and Windows Shortcut Keys
- How To Protect Computer from Virus Attack
- How Long to Charge a New Phone Battery Before Using?
- 8 Ways To Save Your Android Battery Life Forever
Related Tags: disable keyboard windows | how to disable laptop keyboard permanently | Disable Keyboard Buttons.


