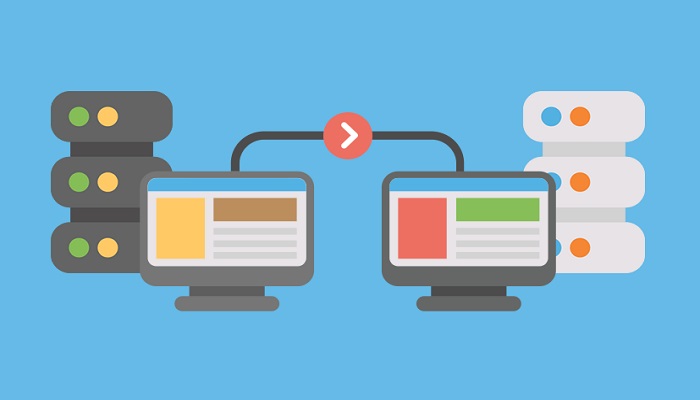
On This Post, You Will Learn How To Move WordPress From Local Server To Live Server without using any plugin.
It is always more convenient to develop your WordPress website on your local server – this will save you time, cost, and network issues.
For me the main reason I prefer developing WordPress or any other website on localhost is speed.
While developing on localhost you don’t have to be connected to the internet, after you have downloaded your required theme and plugins.
It’s also a big plus for those living in places with poor internet network issues, as well as those who can’t afford to spend on internet data.
Personally, what I love most is the swiftness, and building without glitches.
But the reason why some people will still prefer to develop it on their live server is that they find it difficult to move and set up the already developed WordPress site to a live server.
Not to worry, I will show you all the step by step process to transfer your WordPress site from a local server to your live server without the use of any plugin.
Note: some WordPress plugins like Duplicator and BackUpBuddy can also be used to transfer your site easier.
ALSO READ:
- How To Move WordPress From Local Server To Live Server using Duplicator Plugin.
- How to Install WordPress on Local Server
What you Need to move WordPress to a Live Server
- An already built site on your local server.
- A domain name and a hosting account using cPanel
- A File Transfer Protocol (FTP) program
Steps to Transfer WordPress to Live Server
- Open phpMyAdmin of your localhost and click on the WordPress site database.
- Then click on “Export” and click on “Go” to download your WordPress database.
- Open FTP client (Filezilla) and connect to your live site, and upload your WordPress site folder from localhost to the directory you need it to be on the live site. The directory should be “public_html” if it is not to be in any extension.
- Open your “CPanel” home page, click on “MySQL Databases” icon, create a new database, and add a new MySQL User (ensure that you grant all privileges to the new user.)
- Go back to your Control Panel home page and click on the “phpMyAdmin” icon. Once it opens, you will see the new database you created in step #4.
- Click on the new database you created on click “Import” to import the database you exported from your local server in step #2
- Once importation is completed, look for a “wp_options” table in the database; you just imported in step #6 and click on it.
- If it opens, under the field “options_name” look for “siteurl.” Click the “Edit Field,” which you will see on the left at the beginning of the row, and the edit field window. In the input box for “option_value,” you will see the URL of your localhost, something like http://localhost/blog.
- Delete the localhost URL and insert your new site URL (domain name). Carefully, for example, http://www.newdomain.com.com, click “Go” to save.
- Connect to your site using FTP client, open a PHP file named “wp-config” and edit the database name, user, and password you created earlier, click on save and upload it back to your server (alternatively, you can open your panel file manager -> open the folder where WordPress was uploaded -> open ”wp-config” file -> and edit the Database name, User and Password to the newly creates ones).
- Finally, open your site phpMyAdmin from your cPanel, and click to open site database; once the database is open, click on “SQL” and paste the code below it into the text box then save.
UPDATE wp_posts SET post_content = REPLACE(post_content, 'localhost/test/', 'www.yourlivesite.com/');
The essence of step #11 is to avoid broken links (especially images) in your site, which may occur during the transfer.
And that is it; you are done. You can now log in as admin to make any other customization you need to.
RELATED ARTICLES


